A rigid heddle loom is the smallest type of loom on which you can weave a longer length of fabric than the length of the loom itself. They are fun little machines. I started on a type of peg loom so this is an upgrade for me. The next step up from a rigid heddle loom would be a shaft loom (e.g. 4 shaft loom) which allows you to program in more complex patterns.
Project 1: Candy striped scarf

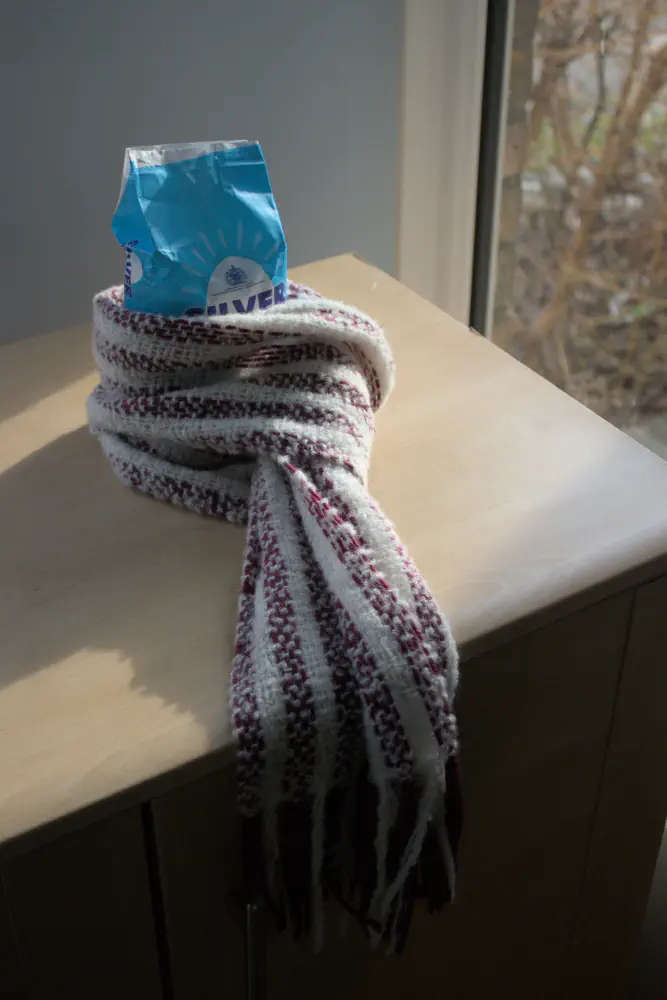
The irregular ‘bumps’ of white on purple you can see at the edge of the scarf are the proof that I’m still inexperienced at weaving. The scarf is not coming apart, it was like that from the start because I didn’t get an even tension on my warp threads (the yarn that runs vertically down the scarf). I have worn it everywhere, folded it, rolled it, and stuffed it into zippered pockets and not a single strand has come out of the weave despite it being pretty loose.
It’s agreed that wool is more breathable than plastic based fibers such as polyester, while still being warm. I can confirm that my be-scarfed neck doesn’t feel all sweaty when I am walking somewhere in a hurry.
Technical details:
- 5dpi reed
- Warp: Ashford Boucle Merino (undyed) - this is wool with a stretchy nylon core; Rico Essentials Soft Merino Aran (Wine Red); alternating 4 ends at a time for total of 52 ends
- Weft: The same Ashford wool.
Project 2: Rag coasters

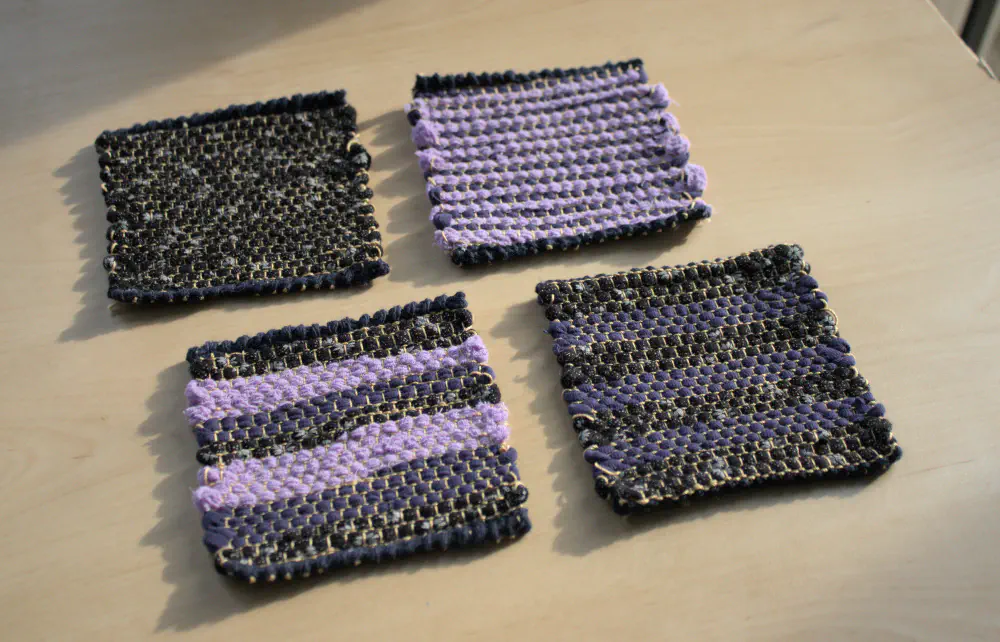
Rag weaving is alluring because you can use old clothes for the bulk of the fabric rather than having to go through the buying process to get yarn. These coasters were made from unwanted clothes that my grandmother gave me, some of her own and some passed along to her. I stuck to ones that said 100% cotton on the label.
Some of the fabrics are knitted rather than woven (that doesn’t mean hand knitted; any stretchy fabric such as a t-shirt is machine knitted) and I had heard that this stretchiness can lead to issues, but it was fine here. I made sure to give the fabric strips a good stretch after cutting them and they did not spring back into shape. The coasters did curl up a bit; I’m not sure if it’s related. Maybe ironing would’ve helped but I don’t have an iron right now.

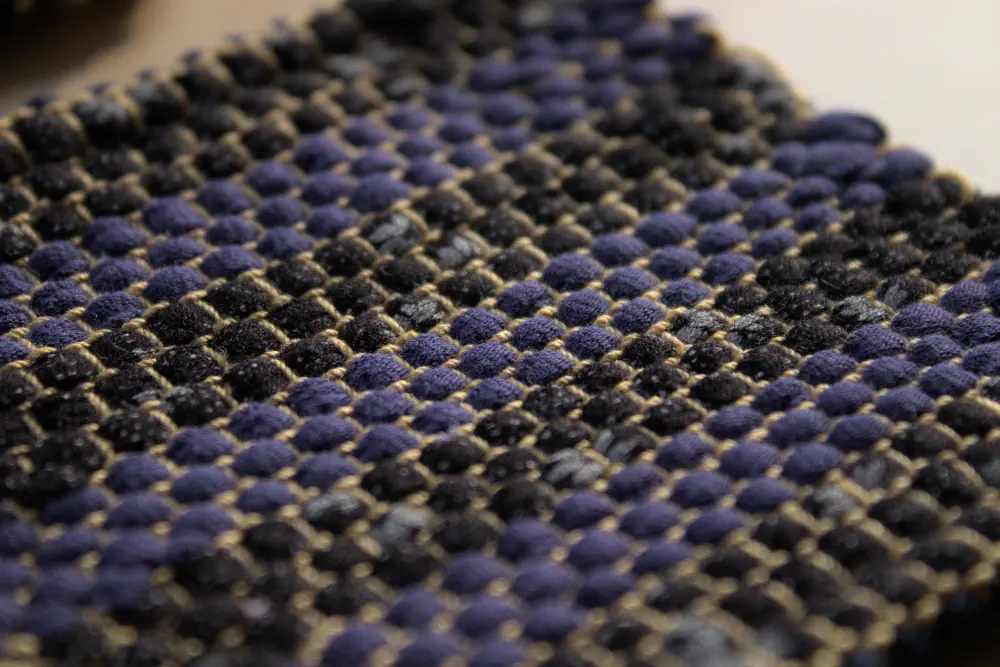
The ‘honeycomb’ pattern is made by having two picks (rows) of a thin yarn in between every pick (row) of rag. This is supposed to make the fabric stronger. Having to switch back and forth and catch the different types of weft around each other at the edges made the weaving process much less ‘flow state’ than usual. In exchange I got a fabric with a very unique look, texture and drape to it. Water tastes better when your cup is sitting on this coaster (desperate salesman’s claim)
Technical details:
- 7.5dpi reed
- Warp: Rico Essentials Crochet Cotton (Gold) - this is a 2 ply
- Weft: Hems King Cole Dishcloth Cotton (Navy); Body 2cm width cotton strips + same Rico cotton
In general, this project epitomised the nature of weaving for me, which is that there are a lot of steps which are completely different to each other but take similar amounts of time. If you try to divide it into ‘chores to get out of the way’ and ‘fun parts that I’m really here to do’ you will lose your sanity; you have to accept each step as it comes.
Here is the process:
- Design the coaster (think about the appearance, choose fabrics and yarns, take measurements of cups in the house…)
- Cut clothes into strips
- Stretch out strips and wind them into balls for storage
- Put the warp onto the loom (wind around warping peg, thread through the reed, cut, wind up, re-thread through reed holes, lash the loose ends on to the other side of the loom)
- Weave the coaster’s front hem. This part is not a rag, it’s regular cotton yarn
- Hemstitch (secure the edge yarn by sewing diagonally through it using a tapestry needle)
- Weave the coaster body alternating between 1 pick rag, 2 picks thin cotton
- Switch back to cotton yarn; weave the coaster’s back hem
- Hemstitch
- (repeat from the hem step for another 3 coasters)
- After cutting off the loom, finish the hems so the weaving doesn’t just slide off the warp. (Hand sewing is a lot more fun when you are using a very large needle and can follow a clearly visible warp thread along the fabric. I hand hemmed one and did damascus edges on the the other three, which was torture)
And of course, for myself I’ve added extra steps of photographing the weaving, editing the photos, and writing the blog post.
I’m always happy to discover another occasion on which I can use my camera and photography skills but I dropped the ball this time, shooting with the aperture wide open leading to a super shallow depth of field. I hadn’t touched my camera in about 2 months and forgot everything. I guess I’ll leave it this way as a record of how ‘busy’ I’ve been lately…